Why Branded Mailers Are Worth the Setup Time
Unboxing is one of the few moments a brand gets a customer’s full attention. A custom mailer makes that moment feel intentional instead of accidental.
It also pays off beyond the first impression. Branded packaging gets shared on social media more than plain packaging, and it reinforces brand recall every time the box sits on a porch or a kitchen counter.
Cost is usually the first objection, but it’s often smaller than people expect. A printed mailer adds a modest amount per unit over a plain one, and that cost tends to even out once you factor in fewer support tickets about “is this really my order” and a noticeable bump in repeat purchases from customers who remember the brand.
The Setup Process, Step by Step
1. Loop In Your Account Manager
Setup starts with a conversation, not a form. Tell your account manager you want to move to branded mailers, and they’ll walk you through timelines, minimums, and what’s realistic for your product line.
2. Pick Your Mailer Type

Poly mailers work for soft goods like apparel or accessories. Corrugated boxes suit anything fragile or with more weight. If you’re unsure which fits your product, our custom packaging guide breaks down common box sizes and insert options.
3. Lock In Your Specs
Once you’ve picked a mailer type, you’ll confirm exact dimensions, material weight, and print method (full-color wrap vs, single-color logo stamp). This is also where you decide if you need a tear strip, a self-seal closure, or double-sided printing.
4. Send Over Your Design Files
Your design team, or ours, if you don’t have one yet, will need vector logo files, your brand”s color codes, and approved fonts. The cleaner these files are, the fewer revision rounds you’ll need.
5. Approve the Proof
Before anything runs at full volume, you’ll see a physical or digital proof. Check it against your brand guidelines closely. This is the last stop before bulk production.
6. Set Your Minimum Order Quantity
Custom print runs require a minimum order quantity, which varies by mailer type and print complexity. Your account manager will help you size that order against your sales forecast so you’re not sitting on six months of inventory.
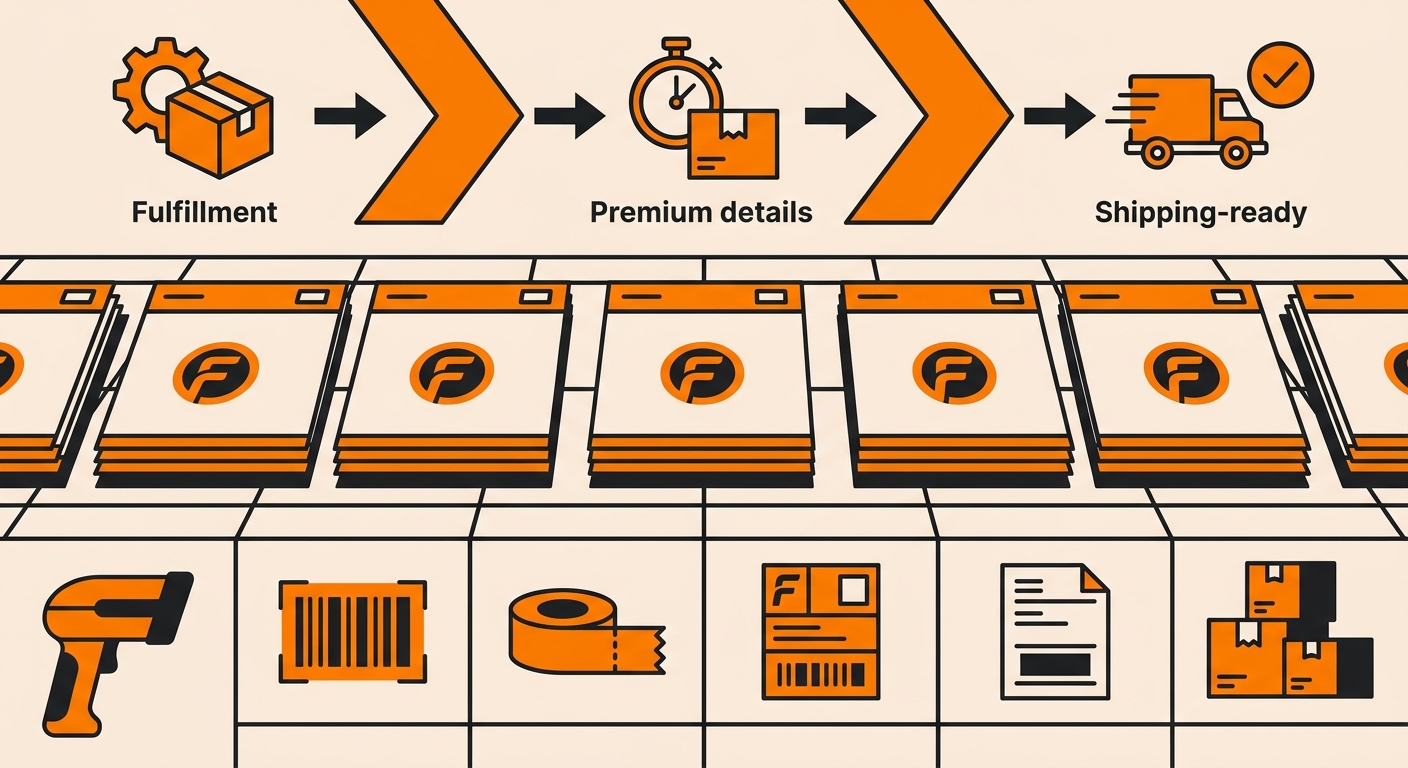
Start to finish, most clients move from first conversation to live, branded shipments in two to four weeks. Simple single-color poly mailers tend to move faster, full-color corrugated boxes with custom dielines take longer because of the extra proofing rounds.
Mailer Materials and Size Options
Most clients land on one of three options:
-
Poly mailers: lightweight, water-resistant, best for apparel and small soft goods;
-
Corrugated mailer boxes: sturdier, better for items that need structural protection;
-
Eco-conscious materials: recycled poly or compostable options for brands prioritizing sustainability.
If sustainability matters to your customer base, it’s worth reviewing our green packaging alternatives before locking in a material.
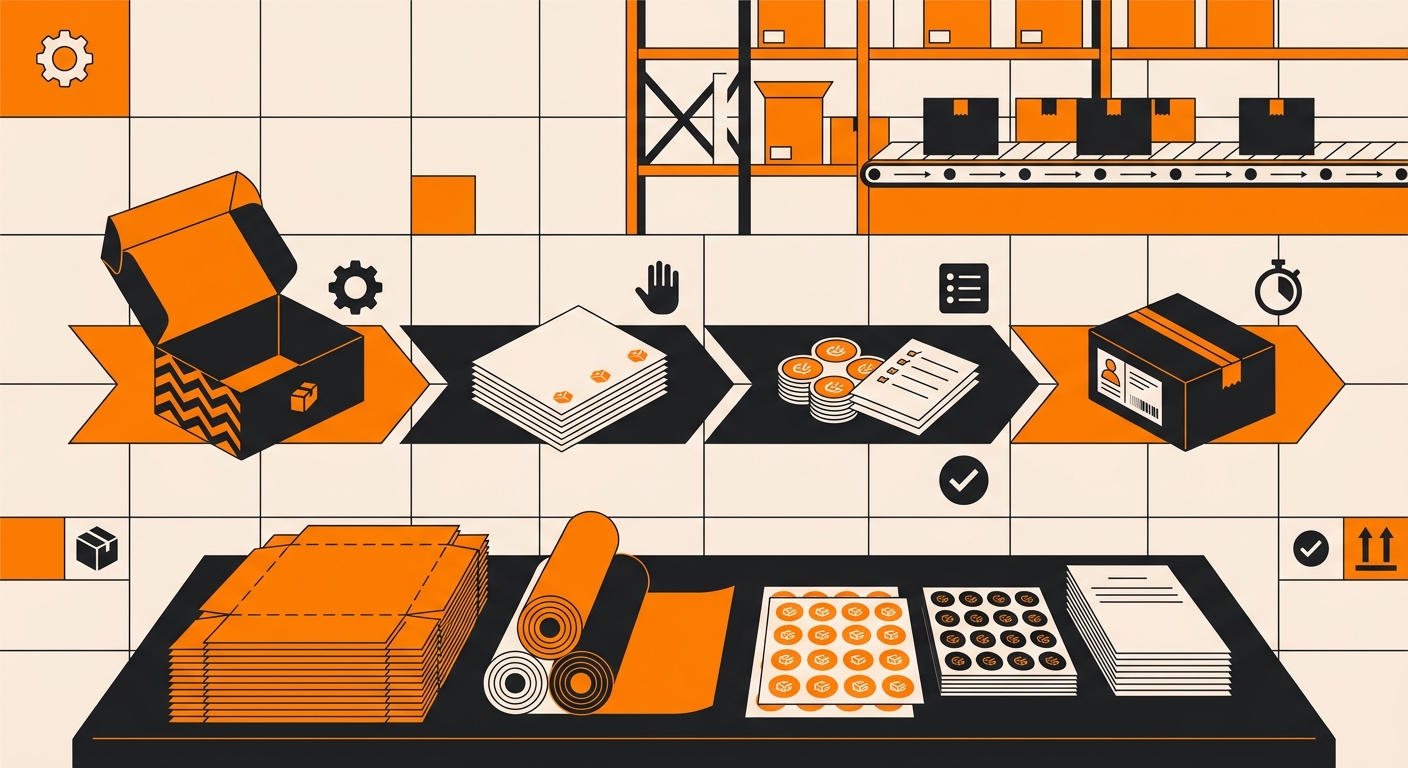
What to Have Ready Before You Start
Setup moves faster when you walk in with:
-
High-resolution or vector logo files (AI, EPS, or SVG);
-
Exact brand color codes (Pantone or hex) and approved fonts;
-
Average product dimensions and weight, so mailer sizing fits the first time;
-
Any required compliance labeling for your product category.
Having these on hand before your first call can shave a full revision cycle off the timeline.
Still Have Questions?
For questions about packing instructions for a specific SKU, contact your dedicated account manager directly, or reach the Fulfyld team at hey@fulfyld.com or (256) 716-8241.