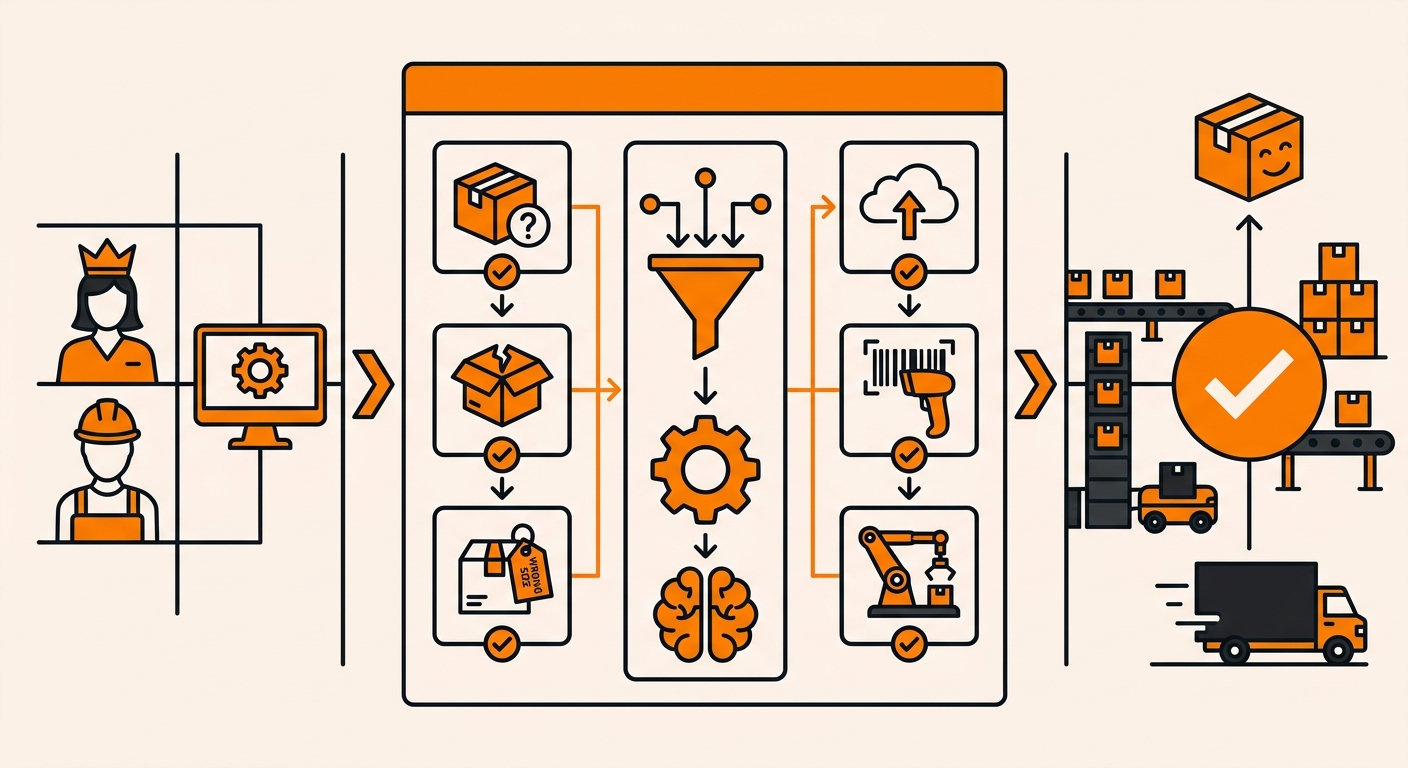
Every return tells you something: wrong size, damaged in transit, changed their mind. But if your return reasons are generic or missing altogether, you’re losing data that could help you fix product issues, packaging problems, or listing mistakes before they cost you more sales.
Custom return reasons let you tag every return with the specific “why” that matters to your business, not just a generic catch-all.
Here’s how to set them up in your Fulfyld account.
Step 1: Open the Returns Settings
-
Log into your Fulfyld account.
-
Navigate to the Settings tab.
-
Click into Returns (sometimes listed under Order Settings, depending on your account configuration).
This is where all return-related preferences live, including labels, restocking rules, and reason codes.
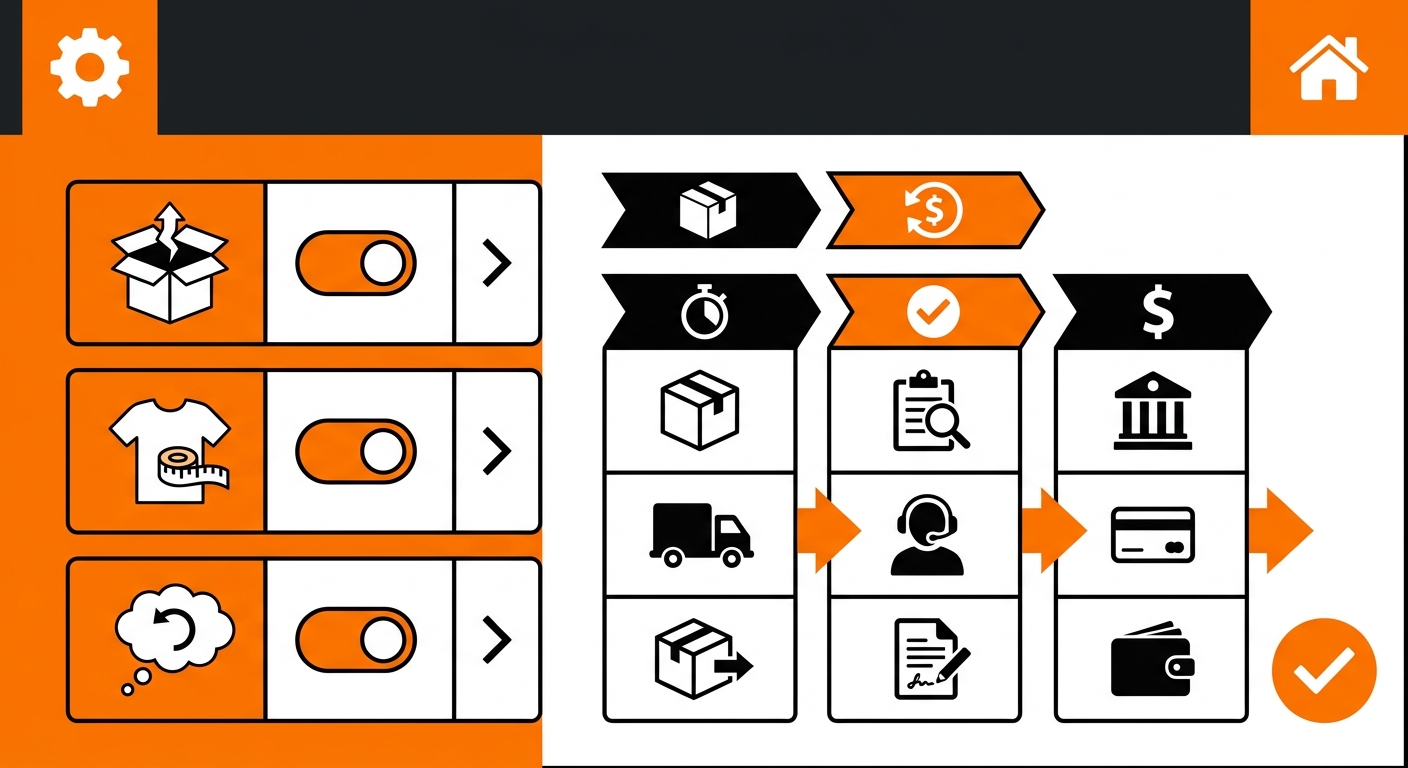
Step 2: Locate the Return Reasons Section
Inside Returns settings, find the Return Reasons panel.
-
You’ll see a default list, things like “Wrong Item,” “Defective,” or “Customer Changed Mind.”
-
These defaults work fine for most brands, but if your products or customer base have specific patterns (sizing issues for apparel, color mismatches for cosmetics, missing parts for kits), it’s worth customizing them.
Step 3: Add a New Custom Reason
-
Click Add Reason (or the + icon, depending on your account view).
-
Type in the new reason, keep it short and specific. Examples:
-
“Color Didn’t Match Photos”
-
“Missing Accessory’
-
“Packaging Damaged in Transit”
-
-
Assign a category if prompted (e.g., Quality, Fulfillment Error, Customer Preference). Categories make reporting cleaner later.
-
Save the reason.
Repeat this for each reason you want tracked. There’s no hard limit, but 8–12 well-defined reasons usually cover most catalogs without overwhelming your warehouse team at intake.
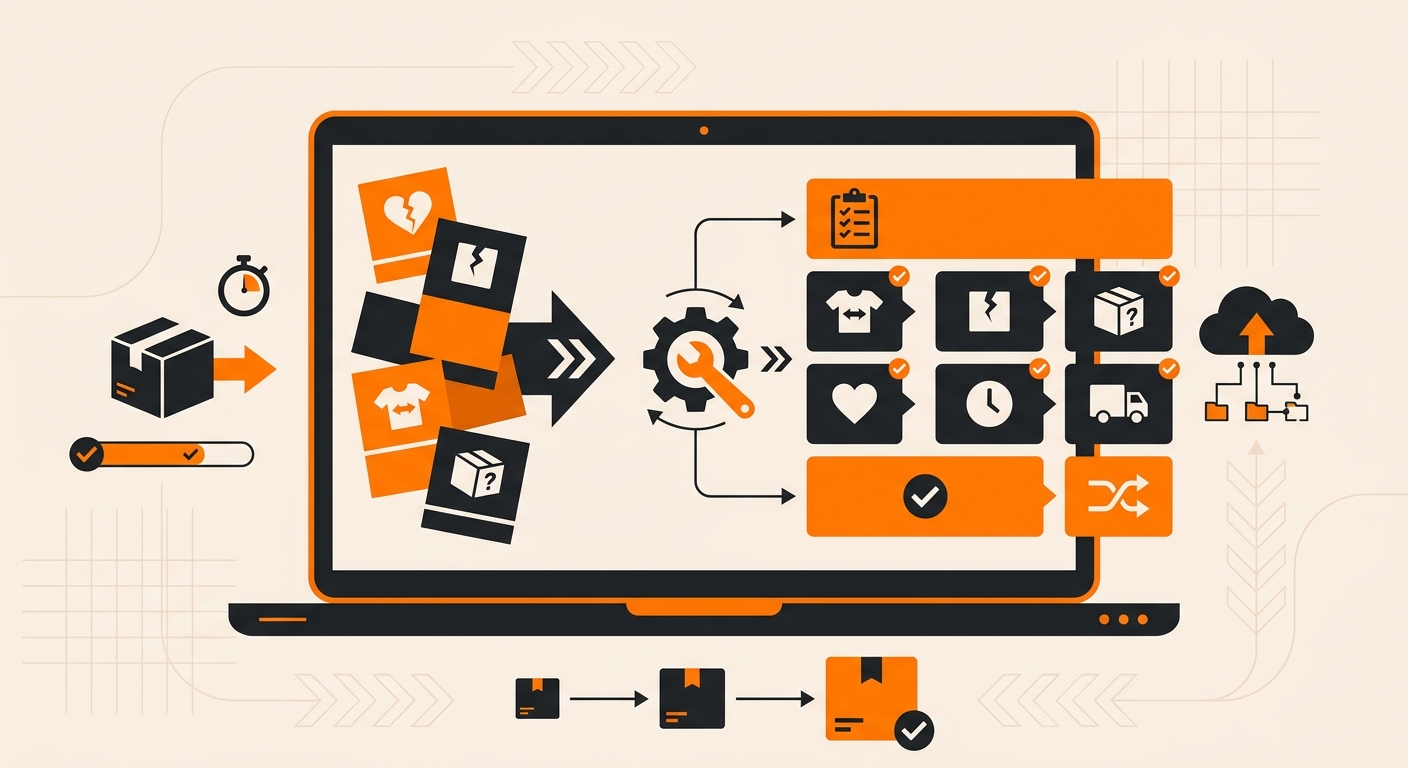
Step 4: Apply Reasons During Return Intake
Once your custom reasons are saved, they’ll automatically populate in the dropdown whenever a return is processed either by your team flagging the reason at intake, or by your customer selecting it through a returns portal if you have one connected.
-
When a return is initiated, the reason field will now show your full custom list.
-
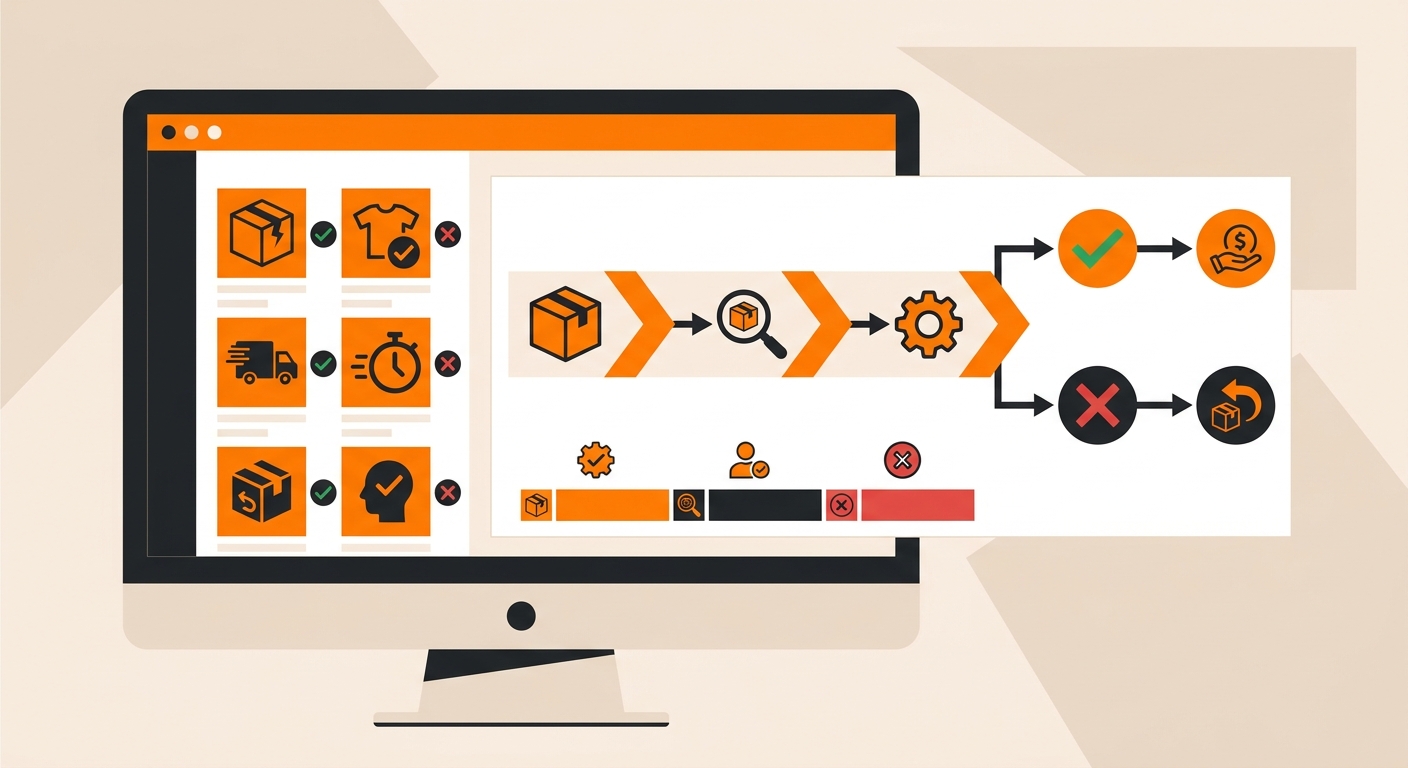
Select the reason that matches the actual issue, not just the closest default. Accuracy here is what makes the data useful later.
-
If a return doesnt cleanly match any reason, use the closest category and add detail in the notes field rather than forcing it into the wrong bucket.
Step 5: Edit or Retire Reasons as Needed
Your return patterns will shift as your catalog grows or changes. Revisit your reason list periodically.
-
Go back into Return Reasons under Settings.
-
Click on any existing reason to edit its label or category.
-
If a reason is no longer relevant, you can archive it instead of deleting it outright, this keeps historical reporting intact while keeping the active dropdown clean.
Still Have Questions?
For questions about packing instructions for a specific SKU, contact your dedicated account manager directly, or reach the Fulfyld team at hey@fulfyld.com or (256) 716-8241.